Now that summer is over, it's best to store your pool cleanly. Carefully dismantling your pool will make the parts last longer and leave the surroundings tidy. But what is the best way to do this? Here is a clear step-by-step plan for dismantling a above-ground pool.
1. Preparation
Before you start the actual deconstruction, it is important to make some preparations:
- Choosing the right time: Choose a dry day without too much wind. Wind can cause loose parts to blow away and we want to avoid that at all times!
Gather supplies: Gather all necessary tools such as a screwdriver, garden hose, cleaning cloths, storage boxes and possibly a pump.
Good preparation is half the battle! ;-)
2. Draining water
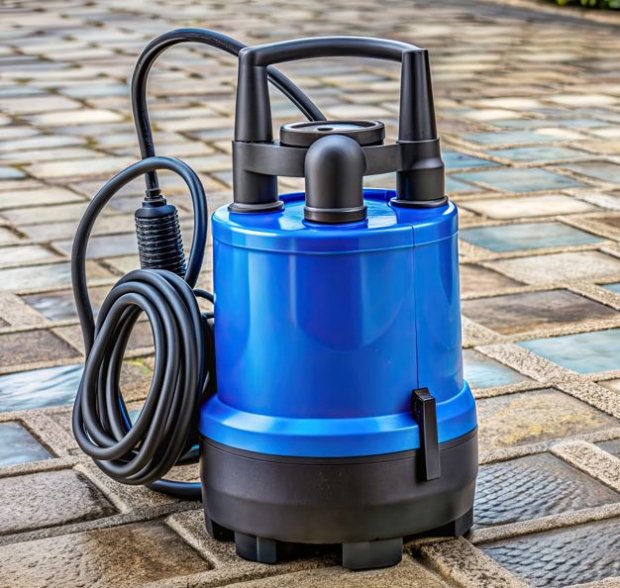
The first and perhaps most important part of breaking down a pool is emptying the pool. This is how you can remove the large amount of water:
- Use a submersible pump: If your pool contains a lot of water, it can be useful to use a submersible pump. This allows the water to be drained quickly and efficiently and even down to the very last drops.
- Garden hose: A more straightforward option is to use a garden hose to drain the water. Place the hose on through the drain valve in the pool and make sure the other end is lower so the water drains by itself.
When discharging the water, be careful not to flood the garden or surrounding area and do the drainage according to local guidelines!
3. Dismantle filter and pump
Once the water has drained, you can start disconnecting the filter and pump systems:
- Filter: Disconnect the filter from the pool structure. Clean the filter as best you can. Let the filter dry thoroughly before storing it!
- Pump: Switch off the pump and remove any hoses or couplings. Clean and dry the pump before storing it.
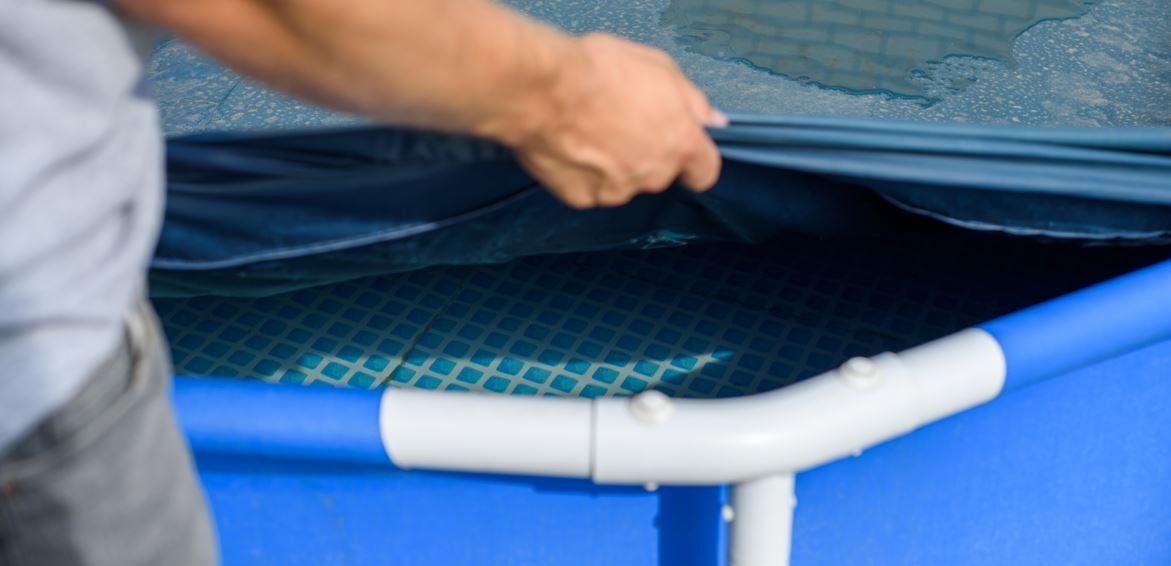
4. Removing the pool liner
Now that the water and filter system are gone, it is time to loosen the pool cover itself, also known as the liner:
- Loosening: Starting at the edges, carefully remove the liner from the pool structure.
- Cleaning: Before folding the liner, it is a good idea to clean it. Remove dirt, leaves and algae with water and use our borklergel to clean the waterline. Let it dry very well to avoid mould, a foul smell or holes!Folding and storage:Carefully fold the tarpaulin and store it in a dry place.
PS: Apply some talcum powder to the sail to prevent holes and mould even better!
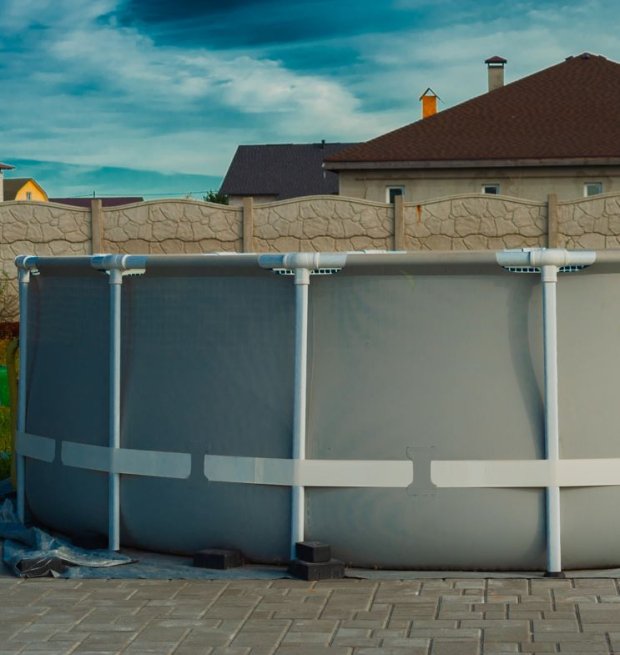
5. Dismantling the pool frame
The pool frame is often the most robust part of a surface-mounted pool, so this requires some attention:
- Loosening screws and bolts: Start by loosening all the screws and bolts that hold the frame together. Make sure you keep the screws and parts together so you can easily find them when you want to set up the pool again next summer.
- Remove tubes from the frame: Carefully remove the tubes from the frame.
- Store the frame: Store the frame in a dry and well-ventilated place. Make sure metal parts do not come into contact with moisture to prevent rust.
6. Cleaning the substrate
After the pool is dismantled, a bare patch is often left behind in your lawn. It is important to clean and restore the surface properly:
- Remove dirt: Remove any remaining dirt, leaves and mud. If necessary, use a rake to level the surface.
- Restoring grass: If the pool has been standing for a long time, the grass may be discoloured or damaged. Sow new grass on bare spots or lay sod to make the area neat again.
PS: Is a set-up pool a fixture in your garden every summer? Then consider paving the area under the pool with tiles, for example. Get rid of bare spots in your lawn!
7. Storage and maintenance
Now that all parts of the pool have been disassembled and cleaned, it is important to store them properly:
- Storage location: Choose a dry, cool place to store the parts, such as a shed or garage. Make sure the pool cover and pump are not exposed to extreme heat or cold.
- Maintenance during storage: During the storage period, occasionally check the condition of the pool cover and pump to prevent damage.
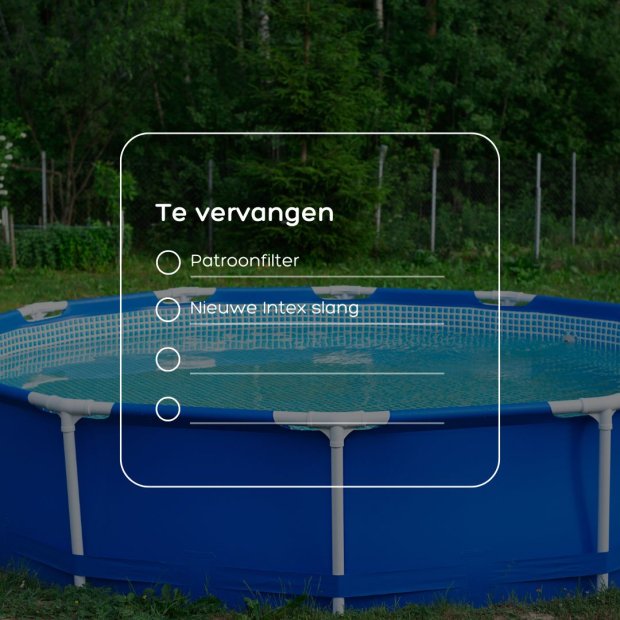
8. Future preparations
If you are planning to set up the pool again next summer, you can already make a checklist of any replacement parts you need. After all, now that's all still fresh in your mind! :-)
This will ensure that you can rebuild your pool in the new season without any problems.
We recommend you order those replacement parts now. So you can splash in your pool as soon as the first rays of sunshine arrive! Discover all spare parts here.